Replacing the rope on your cat’s scratching post doesn’t have to be a nightmare job.
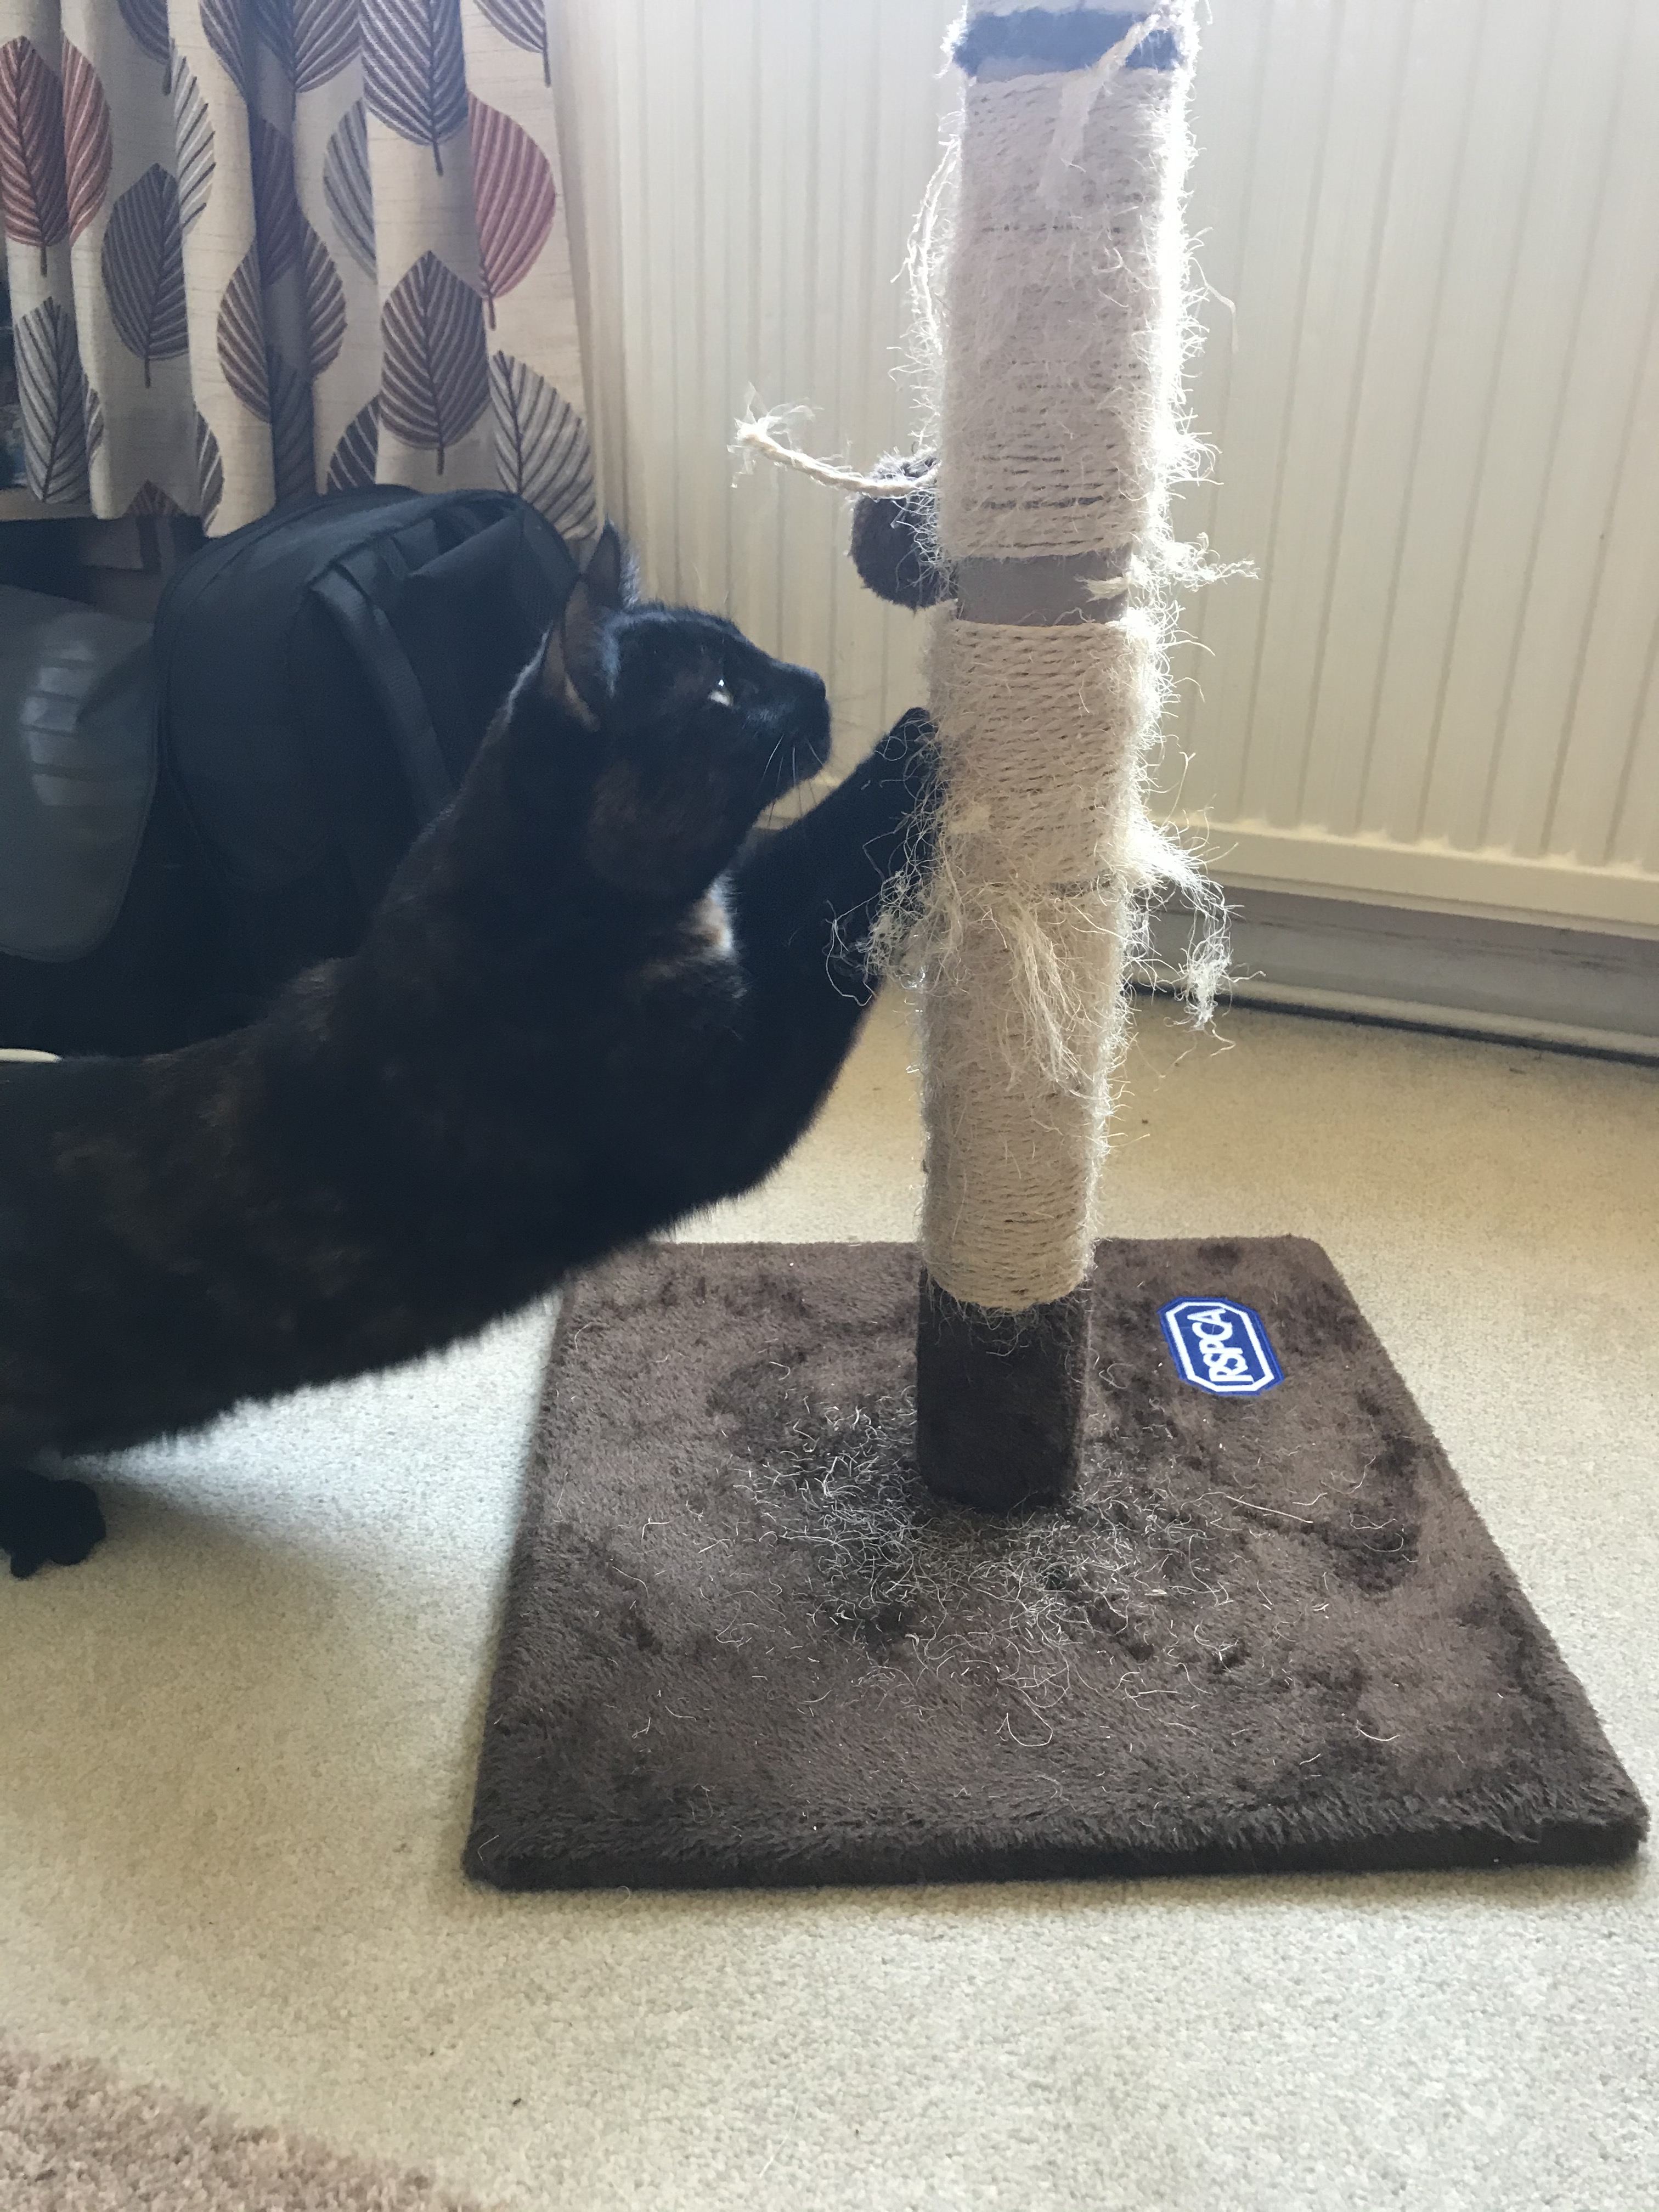
A decent scratching post can be the difference between a happy cat and a shredded sofa. They’re good fun and good exercise for your pet, which makes it all the more important to keep yours in good condition.
If your feline friend has clawed its post down to the base, you’ll probably be tempted to buy a replacement before they begin eyeing up other scratching spots about the house. But actually, there’s no need to purchase a fancy new one. Re-roping your post is easy enough, cheap to do, and makes a great up-cycling project.
WHICH ROPE IS BEST FOR SCRATCHING POSTS?

Sisal is a coarse, bristly rope which makes it the perfect material for your cat to dig its claws into. It’s 100% natural, meaning it’s completely pet safe. And it’s cheap! Why buy a whole new cat post when you can grab 20 metres of 6mm sisal for just a few quid?
WHAT SIZE ROPE DO I NEED?
There’s no specific size we recommend for scratching posts, but most people go for a small diameter (around 6mm – 10mm). The smaller the rope, the cheaper it is per metre, and a thinner rope should be easier to work with and stick down. A thicker rope may last longer, but we’re not talking about a significant difference here. Any diameter should be more than durable enough to last your cat a couple of years, if not more.
The diameter of each batch of sisal is measured during manufacture, when the rope is under tension. This means the final product could potentially be slightly bigger. Take this into account if you need to thread it through any holes in your scratching post.
HOW MUCH ROPE DO I NEED?
The most common mistake people make is not ordering enough rope. Many people assume a couple of metres will be plenty for a scratching post but you might be surprised how much you truly need.
To work out an exact measurement for your post, you only need to know three things…
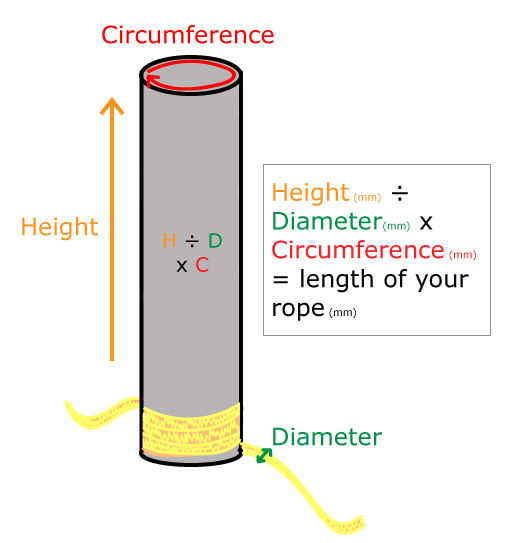
- Firstly, you need to measure the height of your scratching post. This needs to be in millimetres (e.g. 1m is 1000mm).
- Measure the post’s circumference (also in millimetres). This is the circular measurement around the top of the post. You’ll struggle to measure the round edge with a ruler, so we recommend using a flexible tape measure.
- The final figure you need is just the diameter of your rope. (e.g. If you’re going to buy 10mm sisal, the number is 10).
- Now, just put your three numbers into the sum: height ÷ diameter x circumference.
- This is how much rope you’ll need. But remember, you’re currently still working in millimetres, so divide your answer by 1000 to see how much sisal you need in metres. (e.g. if you need 12,200mm of sisal, this is the same as 12.2m).
Still utterly confused? Here’s an example…


This post is 60cm tall, which is the equivalent of 600mm. Around the top, its circumference measures 10cm (100mm). If we want 6mm sisal rope, this gives us the sum: 600 ÷ 6 x 100. This equals 10,000mm. If we want this measurement in metres, we must divide 10,000mm by 1000 to get a final answer of 10m.
If in doubt, order a little more than you think you’ll need – better to overestimate than not have enough. And if you’re still stuck, feel free to contact us.
HOW TO RE-ROPE MY SCRATCHING POST
So you’ve chosen your rope, chosen your size, worked out how much you need – now what?
Thankfully, re-roping your post is a pretty simple process. But if you’d like a step-by-step guide to help you, you’re in luck! Click on our video below.
A few extra tips…
- Start from a clean base. Cut away any mangled rope still hanging onto your post and remove any glue or nails before re-roping. This will make it easier to stick your sisal down and ensures a tighter wrap.
- Stick it down securely. We recommend using some decent glue to fix your sisal down. Lots of people like to nail their rope into place, but this tends to be more time consuming. Plus, there’s the risk that your cat could catch its claw on a nail head, which wouldn’t be fun. Make sure you check your glue isn’t toxic for pets though.
- Start from the bottom. Wind the rope up the post, gluing as you go, for the neatest finish. If you start from the top, this could be quite fiddly as the rope may slip down and wont wrap as tightly.
- Let it dry. Wait for the glue to set before handing the post back to your furry friend.
Tadahhhhh! You’ve got yourself a brand new scratching post! Better let the cat have a play before the curtains become their next victim.